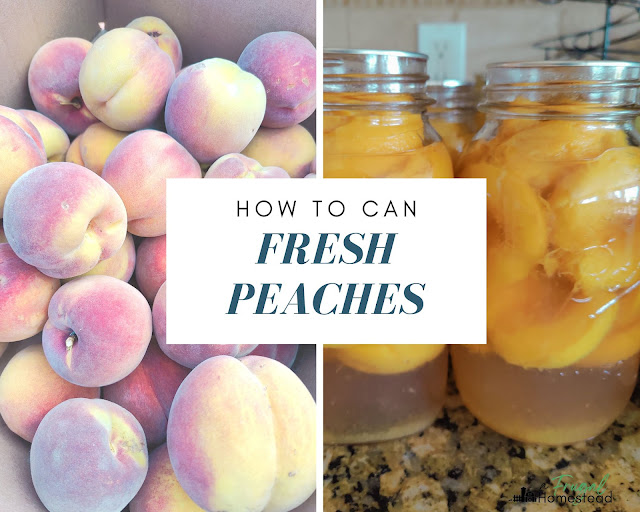
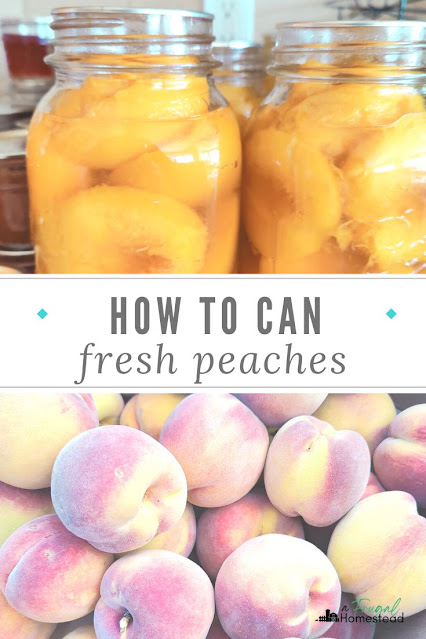
Canning Peaches - Halves or Sliced - in Syrup
There is nothing in the world like a nice fresh peach. Picked straight from the tree. Washed (with a rub on your shirt). With a big bite right in the orchard.
Of course, that dream can only last for the few weeks each year that peaches are ripe. However, that doesn't mean you can't enjoy peaches all year long.
This post contains affiliate links to products we recommend. We do make a portion off any you may purchase. See full disclosure here.
In the past, we've stored peaches by making peach juice or peach sauce. We've even frozen peaches for later use.
But the best method for our family is to can peaches. Come along as we teach you how to can peaches like a pro.
Selecting the Best Peaches
To ensure that your canned peaches turn out perfectly every time, it all starts with selecting the best peaches. The quality of your peaches will directly impact the taste and texture of the final product, so it's important to choose wisely.
When it comes to selecting peaches for canning, there are a few key factors to consider. First and foremost, you want to make sure that the peaches are ripe but not overly soft or bruised. Look for peaches that yield slightly to gentle pressure when you give them a gentle squeeze. Avoid any that feel mushy or have visible blemishes.
Color is also a good indicator of ripeness. Choose peaches that have a vibrant, uniform color all over. While some varieties may have a blush or reddish hue, avoid peaches that are green or have patches of green, as these are likely under ripe.
Size matters too. Aim for medium-sized peaches that fit comfortably into your canning jars without overcrowding. This will ensure even cooking and a consistent texture.
Lastly, trust your nose. Give the peaches a good whiff and look for a sweet, fragrant aroma. This indicates that the peaches are fully ripe and will lend a delightful scent to your canned peaches.
Preparing the Peaches
Give your peaches a gentle rinse under cool water to remove any dirt or debris. Once cleaned, it's time to remove the peels.
Blanching is a popular method that helps loosen the skin, making it easier to peel off. Carefully place peaches in a pot of boiling water for about 30 seconds. Transfer the peaches to an ice bath to cool quickly. The blanching process will shock the peaches, causing the skins to easily slip off when gently rubbed.
Next, pit the peaches. To do this, simply cut the peach in half or twist it gently to separate the two halves. Use a small spoon or your fingers to remove the pit from the center. For larger peaches, you may need to cut them into quarters before removing the pits.
Choosing the Right Canning Method
Water bath canning is suitable for high-acid foods, such as peaches. This method involves submerging filled jars in a boiling water bath for a specified amount of time. The high temperature kills off any bacteria or microorganisms that could cause spoilage. It is an effective and accessible canning method for most home canners.
Adding the Right Sweetener
For this recipe, adding a medium to light syrup makes sweet and juicy peaches. The recipe calls for a 1 to 2 ratio of sugar to water. That means for 1 cup of sugar you add two cups of water.
Typically for a batch of peaches, you'll need about 2 cups of sugar and 4 cups of water. Bring to a boil on the stove top and make sure to dissolve all the sugar.
Carefully ladle hot liquid over the peaches placed in the jars until it is about 1/2" from the top.
Properly Preparing the Jars
To properly seal your jars, follow these simple steps. Start by carefully wiping the rim of each jar with a clean, damp cloth to ensure there are no food particles or residue that could interfere with the seal. Next, place a lid on top of each jar and gently screw on the metal ring.
Following the Correct Processing Time
This step is crucial for ensuring that your canned peaches are safe to eat and maintain their quality over time.
The processing time refers to the period during which the jars are heated in a water bath. This helps eliminate any harmful bacteria and enzymes, ensuring that your peaches stay fresh and delicious for an extended period.
Water bath peaches for 30 minutes. This may change based on your elevation. Make sure to consult the National Center for Home Food Preservation or the USDA.
Typically, the processing time starts only once the water in the canner has reached a full rolling boil.
Storing Canned Peaches for Longevity
Find a cool and dark location for your jars. Ideally, this would be a pantry or cellar that maintains a consistent temperature between 50-70 degrees Fahrenheit (10-21 degrees Celsius). Avoid storing your peaches in areas prone to extreme temperature fluctuations, such as near a stove or in direct sunlight.
Labeling your jars with the date of canning is also highly recommended. This way, you can easily keep track of when you canned your peaches and ensure you consume them within a reasonable timeframe. While properly sealed jars can last up to a year or more, maintaining their optimal flavor and quality is best achieved by consuming them within 8 to 12 months.
In addition to choosing the right storage location and containers, it's crucial to keep an eye out for any signs of spoilage or damage. Before consuming any canned peaches, inspect the jars for any leakage, bulging lids, or an off-putting odor. If you notice any of these signs, it's best to err on the side of caution and discard the contents of the jar.
VIDEO: How to Can Peaches
Jump to Recipe
-----


.jpg)
.jpg)
.jpg)
.jpg)
.jpg)
.jpg)


Comments
Post a Comment