Save Money with DIY Beeswax Wraps
One pet peeve I've found living on our 10 acres is trash. It blows in from all over the place. From neighbors, tipped garbage cans and random animals that drag it to the ditch.
We are constantly picking up plastic bags and bottles that aren't ours.
How do I know it isn't ours? We try to use reusable items as much as possible. Even boxes or packages we might receive get a second life on our 10 acres.
That is why I am so excited to share with you one of the ways I combat our "trash" problem. With diy beeswax wrap.
This post contains affiliate links to products we recommend. We do make a portion off any you may purchase. See full disclosure here.
How does reusable beeswax wrap combat trash?
Well for one, I know the trash coming into our property isn't ours. So that makes me feel better about how we take care of our land.
We also realize that saving money is a BIG deal. Not only do we have to feed 5 hungry humans, but we've got 25+ chickens and two dogs as well.
When we can save money with a simple DIY project, we do it. Not to be cheap but to be frugal and wise in our choices.
What is beeswax wrap?
The most important question of all. What is beeswax wrap?
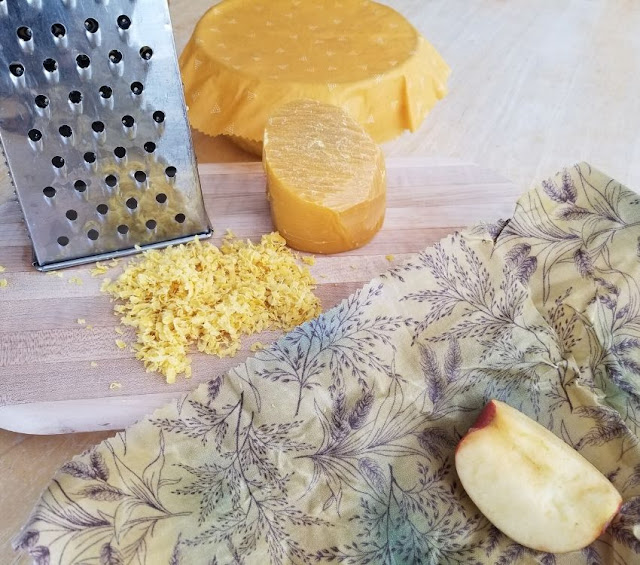
Simply put, it is material covered in beeswax (and sometimes other products). It is used to cover or store food as an alternative to plastics.
You can buy beeswax wrap at the store and even on Amazon. Or you can easily make your own.
How to wash beeswax wrap?
Beeswax wrap can be washed in warm water and a little soap.
Since beeswax melts, you don't want to hot of water or you'll melt the wax of the wrap. And make sure not to use to much soap or it can adhere to the wax and get in your food.
Most of the time and nice wipe and rinse will do the trick.
How to store beeswax wrap?
Storing diy beeswax wraps is easy. I simply roll mine up and store in a drawer in my kitchen.
You can also fold it and place it in a bin or basket. I suggest that they are place somewhere were dirt and dust can't collect over time.
How to Make DIY Beeswax Wrap
Materials Needed
- Beeswax Pellets or Bars
- 100% Cotton Fabric
- Parchment Paper
- Baking Sheet
- Fabric marker or chalk
- Pinking Shears
Step 1
Fold the fabric into quarters. Place a bowl or plate in the corner and use it to measure the size of your circle.
Take a fabric marker and draw the rounded edge. Cut out your circle using pinking shears.
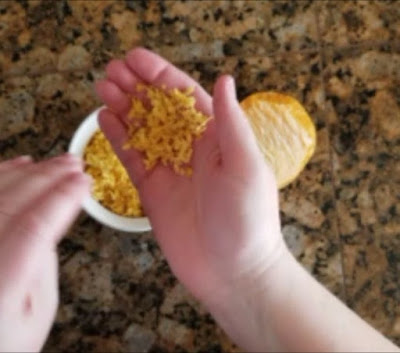
Use a cheese grater to grate your beeswax bar. You'll need at least 1/4 cup of beeswax for this project.
Step 3
Place parchment paper on baking sheet and place the fabric onto the parchment paper.
Scatter the beeswax around the fabric so it can melt and give an even coat to the fabric.
Place the baking sheet in a 300° F oven for 2-5 minutes or until all the wax has melted.
Step 5
Remove beeswax wrap from the parchment paper and allow it to cool completely.
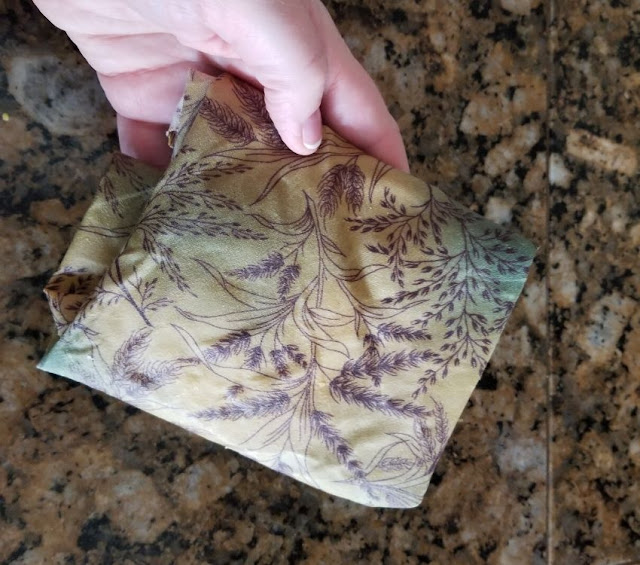
Now you can wrap your apples, sandwich or yummy treat in your diy beeswax wrap. The food won't stick and it will stay nice and safe in the wrap.
To get the wrap to form to your bowl, simply use your hands to warm up the beeswax as your press the wrap to your dish. It works really well.
You can also wash the beeswax wrap in warp water and a bit of soap if necessary.
You can make this beeswax wrap in any shape or size that you'd like. From covering serving bowls and dishes, to sandwich size or snack size for fruits and crackers.
I have personally found if I use my hands to "smoosh" the wrap around apples it keeps them from turning brown as quickly.


Comments
Post a Comment